How to Install Tint

Clean all of your windows with a mild soap and water solution. For our installations we recommend a 99% water and a 1% chemical free soap solution. Make sure to clean both sides which allows for a neat and clean installation.

Open your window tint package and lay out the precut tint pieces found inside somewhere flat and clean. At this point visualize where each piece of pre cut tint will go onto your vehicle.
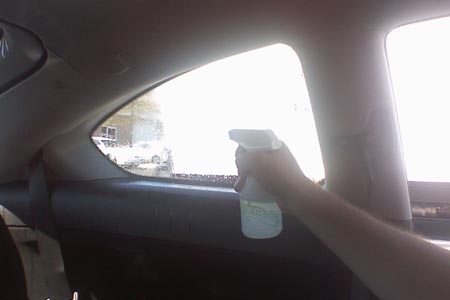
Working on one window at a time, spray your solution onto the inside of your window.

Locate the appropriate precut tint pattern for the window you just sprayed, and begin to peel it off it's liner. As you pull the precut tint off of the liner, make sure you spray the same solution onto the adhesive side. Generously wet the adhesive side of the precut tint pattern, once you fully pull the pattern off. The solution water will now activate the pressure sensitive adhesive.
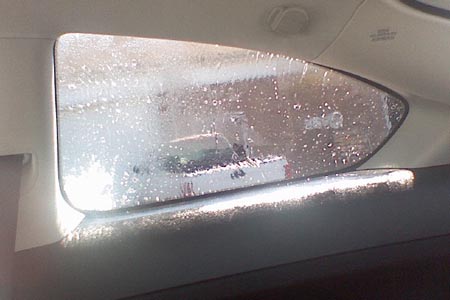
Apply the precut tint with the wet adhesive side onto the same matching window. (Inside of the vehicle)

Now spray the precut tint one more time. This added solution on the film will act as a lubricant during the next steps.
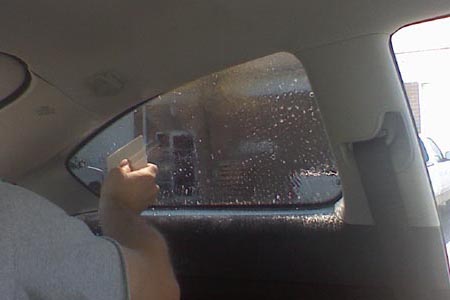
With your squeegee, begin to pull the water solution from between the window tint and the window. Do not push too hard as this may damage the film. Do apply enough pressure to pull all of the solution out, otherwise bubbles may form later.

Keep working out the solution. Remember that it is easier to start in the middle and work your way out.
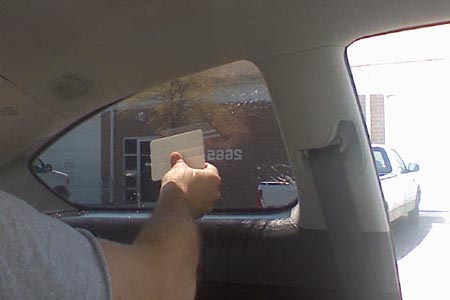
Almost there..

Once you finished your first window, you may now repeat the process for all of your windows.
At the end of your installation allow up to 48 hours for your film to fully dry before you roll any windows down.